How to create a Rubber Stamp Effect using Gimp
This is a simple tutorial on how to create a ruber stamp effect like
the one pictured below in Gimp.

Step One:
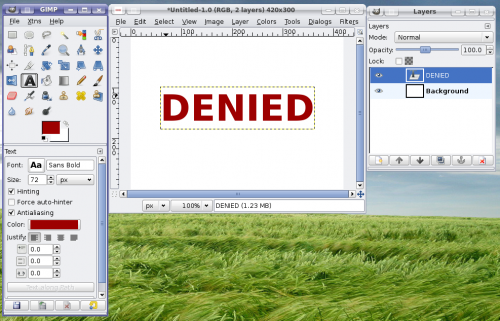
Select the text tool and create some text.
A bold font generally works best for creating a stamp effect.
Step Two:
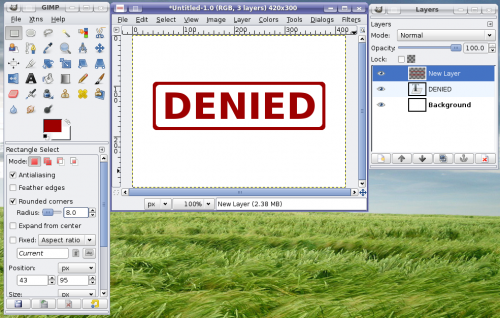
Create a new layer with a transparent background.
Select the new Layer.
Select the box selection tool (highlighted in the tool pallet in the image), check the rounded
corners option and draw a box selection around the text. Then click Edit/Stroke to stroke the box selection.
I used a 6 picel stroke.
Step 3:
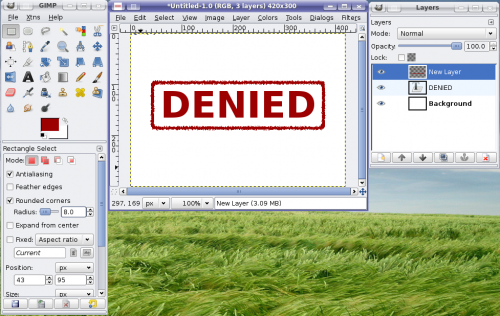
With the box layer still selected, click filters/noise/slur.
Here I used a repeat of 3.
Step 4:
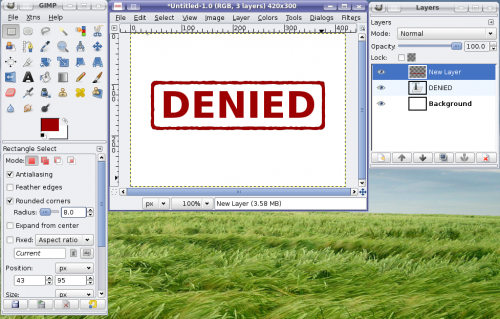
Select Filters/Artistic/Oilify
You will want to play with the settings a bit to get a nice blurred effect.
Step 5:
Select the text layer and repeat steps 3 and 4 for the text.
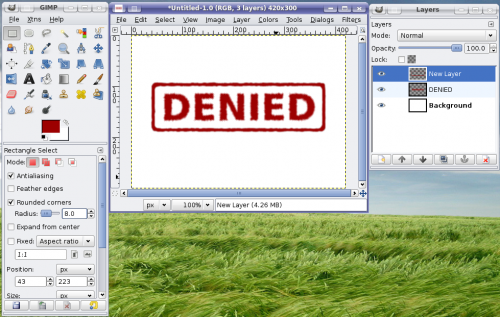
Step 6:
Lock the text and stamp border layers and rotate.
Here I also applied the coffee stain effect.
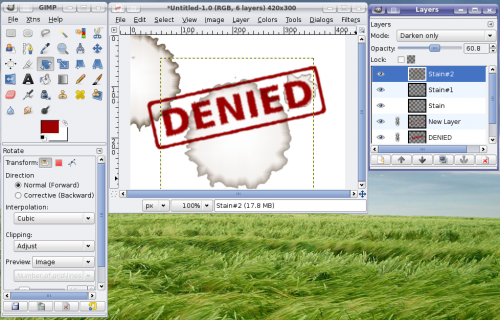
Thats it, simple sweet rubber stamps in Gimp.
Note: You could also hide the background layer and merge visible layers to apply the effects to both layers at once. The thickness of the text vs border will produce different effects, so I find it best to apply the slur and oilify effects to the layers seperately. This is especially true if you have different sized text in the stamp. In the final image here I applied a slight blur to the stamp border so it more closely matched the text.
